


How to make magazine files using cereal boxes. You can find all sorts of things to do on Youtube. I look for stuff and I may modify it to suit my needs or make the process easier.


I've chosen to take the cereal box and measure how low to cut the front depending on the size of the magazine and how much you would like to expose. If it's a large cereal box, you can measure the height of the magazine and cut to size. Once I decide which magazine will go into the file, I measure the sides. I draw lines from the top down to where I would like the height of the front to be for viewing the magazine spine.

Using a box cutter or Xacto knife, I cut from the top down on each side of what will be the front. 3" to 6" depending on the size of thecereal box is a good height for the magazines. Fold back inside of the file to create added support to make the file sturdy. You can fold the sides inward at an angle or cut them with the box cutter or Xacto knife from back to front. If the back is too high, use the same technique as you did for the front. Cut on each side until you have reached the desired height and fold inward for added support.

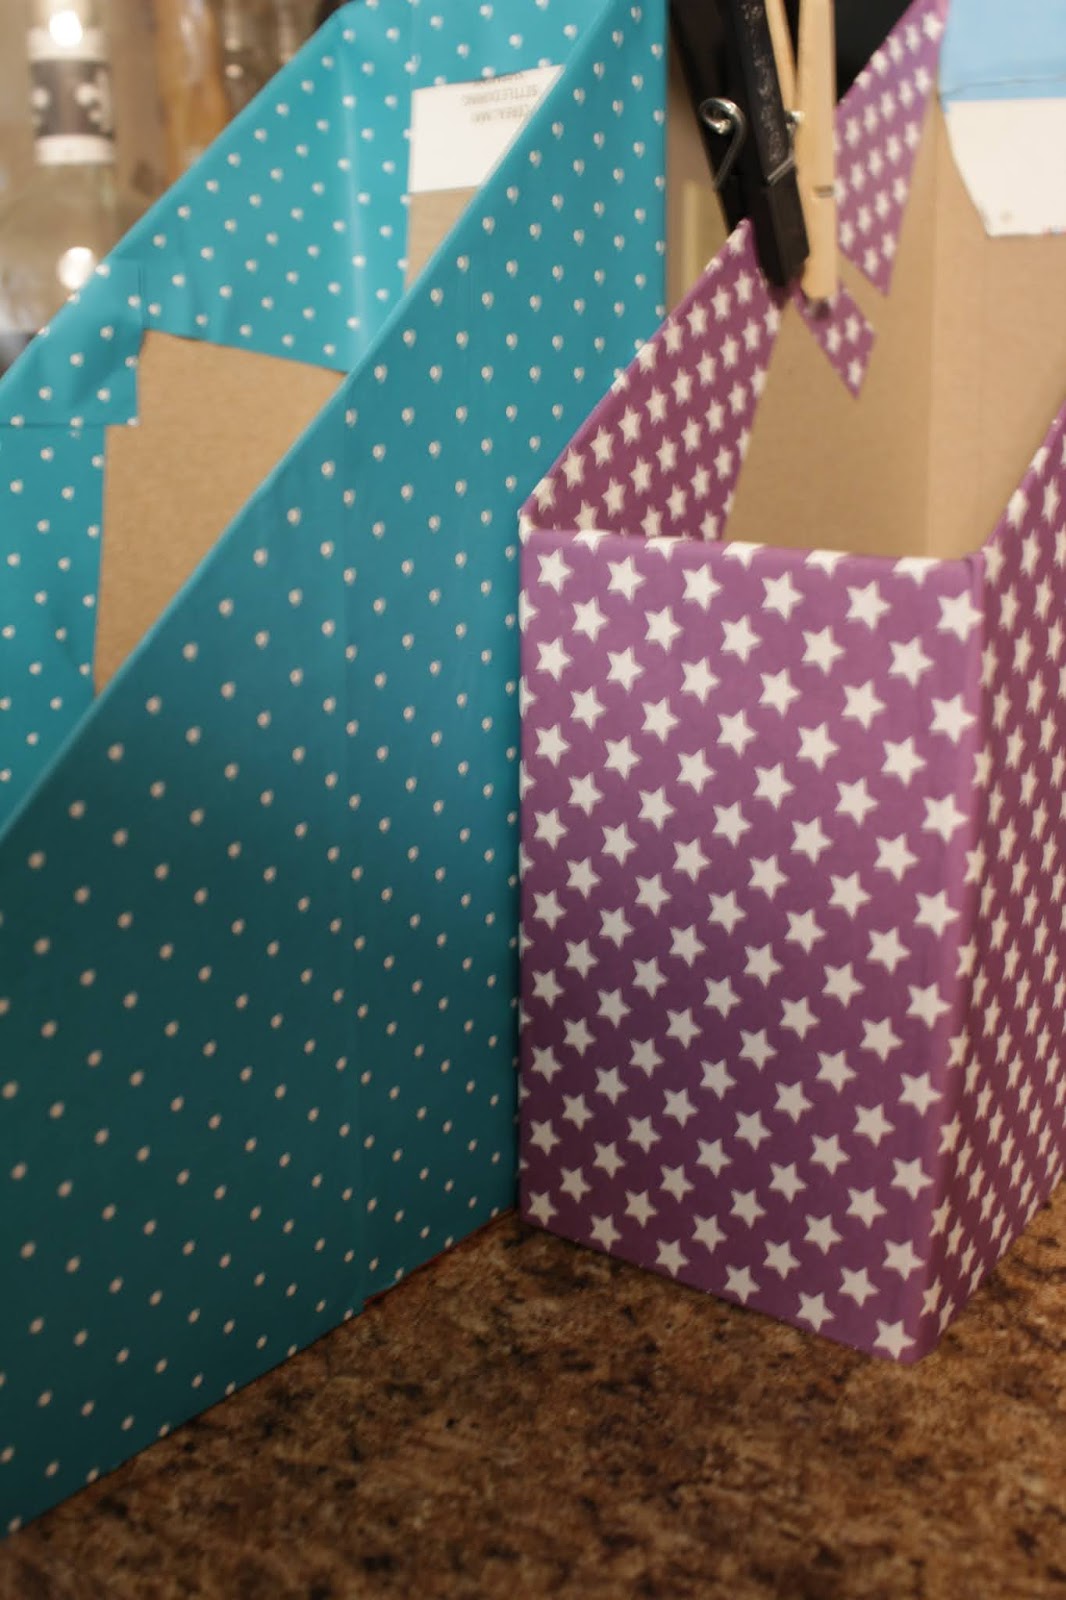
Take two sheets of 12 x 12 scrapbook paper of your choosing. Keeping the same design makes for a more professional store bought look. Wrap the sheets around the box to measure. If the box is large you will want to make sure you cut the paper in large strips so you will have the access to fill in the gaps. I prefer to glue the box as well as the paper. Don't put to much because you don't want it to be wet and cause the paper to buckle. I prefer Elmer's Glue-All Multi Purpose Glue. Smooth out the paper so you have an exact fit. Now if you are using the large cereal box, you can use the scrap piece of paper first or you can lay it over after you have put the other two sheets in place. Depending on the ceral box and the color of paper you are using, you may choose to just leave it. It's your file, you can do whatever you feel like doing. I prefer to glue one section at a time. This way you can see if you need to make modifications.


If you try this project let me know how it comes out.