It's been quite some time since I've made a post it seems.
How to make magazine files using cereal boxes. You can find all sorts of things to do on Youtube. I look for stuff and I may modify it to suit my needs or make the process easier.
I've chosen to take the cereal box and measure how low to cut the front depending on the size of the magazine and how much you would like to expose. If it's a large cereal box, you can measure the height of the magazine and cut to size. Once I decide which magazine will go into the file, I measure the sides. I draw lines from the top down to where I would like the height of the front to be for viewing the magazine spine.
Using a box cutter or Xacto knife, I cut from the top down on each side of what will be the front. 3" to 6" depending on the size of thecereal box is a good height for the magazines. Fold back inside of the file to create added support to make the file sturdy. You can fold the sides inward at an angle or cut them with the box cutter or Xacto knife from back to front. If the back is too high, use the same technique as you did for the front. Cut on each side until you have reached the desired height and fold inward for added support.
Take two sheets of 12 x 12 scrapbook paper of your choosing. Keeping the same design makes for a more professional store bought look. Wrap the sheets around the box to measure. If the box is large you will want to make sure you cut the paper in large strips so you will have the access to fill in the gaps. I prefer to glue the box as well as the paper. Don't put to much because you don't want it to be wet and cause the paper to buckle. I prefer Elmer's Glue-All Multi Purpose Glue. Smooth out the paper so you have an exact fit. Now if you are using the large cereal box, you can use the scrap piece of paper first or you can lay it over after you have put the other two sheets in place. Depending on the ceral box and the color of paper you are using, you may choose to just leave it. It's your file, you can do whatever you feel like doing. I prefer to glue one section at a time. This way you can see if you need to make modifications.
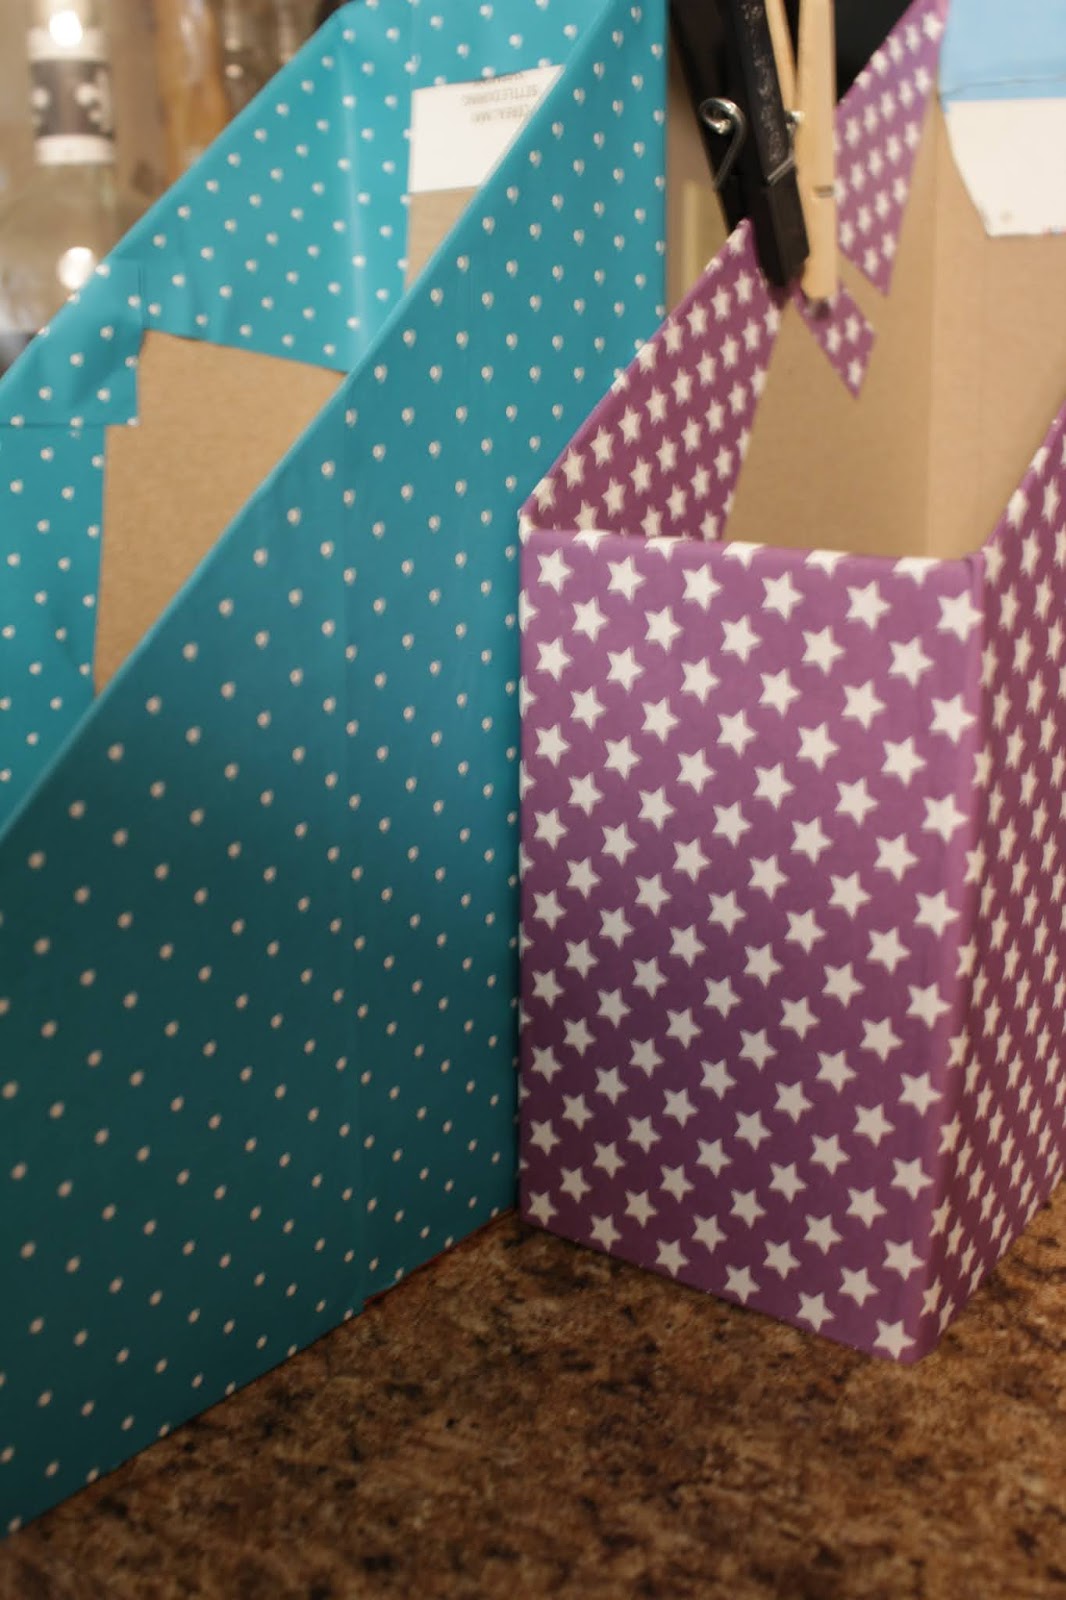
Use clothes pins or clamps to keep paper in position. Smooth paper from bottom to top or from front to back or vice versa depending on which part you are working on. By doing a section at a time you can place the file on its side and put a heavy weight inside to make sure the glue is bonding. You can finish the project in a few hours or if you have a craft room you can take longer making sure it is absolutely perfect.
If you try this project let me know how it comes out.
Showing posts with label create. Show all posts
Sunday, July 5, 2020
Wednesday, December 7, 2011
Painted ornaments

The above design is one that I did for a tee shirt many many years ago. It actually glowed in the dark. I decided I wanted to keep the design and I framed it.It was during my time of creating one of kind pieces of fashion and art. The image was inspired by a Nagel lithograph I saw in a book.

The above is a cross that I'm working on to give to someone as a gift. When I arrived in Austin I noticed that a lot of Hispanics have crosses on their walls and so a collection was formed as people were giving me crosses to hang. Then I started making them. I've always had a fascination with the crucifix.

These ribbons will adorn my Christmas tree once I am finished and I put the tree up. That will probably be the project for the weekend since it will be cold.
Thanks for stopping by; keep an open mind. I hope to launch Nexx Fazz again and share some of my art tips via video.
Thursday, September 8, 2011
Two new paintings

The beginning of the painting Venezia

Venezia

The beginning of the painting The Cross

The Blue Cross
My creative process seems to be unique. I don’t know of many people that can write a poem or create a piece of art in one sitting. It’s almost like a creative rant. I might write six or more poems and they’ll be good, but one or two will stand out and I will create a series around those two poems. I usually write poems that are several pages long. I rarely edit anything unless it doesn’t flow well. When I was with the New Orleans poetry forum I began calling the poetry that I did, “Poetry With An Attitude.”
My paintings are all different, but I’ve noticed a brush stroke technique that continues to be seen in my paintings, along with the colors that I use. My latest paintings I worked on at the same time. They began with a sketch on a piece of paper. I then decided I’d like to see how it would look as a painting. I was not sure where it would go. I just let the paint and my mind bring the image to life. They both have a surreal effect as well as seeing an image that the viewer can see.
Once I give my work a title then I don’t expect to explain its meaning. It is up to the viewer to make their own opinion. I realized a long time ago that art is not for everyone and either you get it or you don’t.
Thanks for stopping by; do come again. Keep an open mind.
http://www.dlonzo-OpenYourMind.blogspot.com
http://vids.myspace.com/index.cfm?fuseaction=vids.individual&VideoID=58144381
http://vids.myspace.com/index.cfm?fuseaction=vids.individual&VideoID=54325957
http://vids.myspace.com/index.cfm?fuseaction=vids.individual&VideoID=54365247
Labels:
acrylic,
Art,
create,
creativity,
digital art,
painting,
pbs
Monday, August 29, 2011
Remembering August 29, 2005
The Crescent City Connection in New Orleans.
On the 6th anniversary of Katrina, I remember that I was wondering if my photos and art were going to be safe when I would return home. Once I was evacuated from my home I didn’t know if the water would get any higher.
The mind plays tricks on you. The images on the television kept showing water coming into the city. It was actually showing what had already happened.
I realized when I decided to return to the house that I was only concerned about my photographs and my laptop. I was able to supply family members with memories they had lost due to the hurricane. I’m still supplying photographs and memories.
Taking it one day at a time and keeping the faith.
Check back and see where this journey leads.
While you’re here why not become a follower.
Thanks for stopping by, keep an open mind. What is meant to be…
Labels:
anniversary,
create,
creativity,
Katrina,
NOLA,
photography
Saturday, August 14, 2010
Creative Art Project
In the world of art there really aren’t any rules as to what you can do to create something interesting. Art like beauty is in the eye of the beholder. Not everyone gets it, but that doesn’t mean it isn’t art.
I wonder how many people throw away their wall clocks when they are no longer working? I came up with an idea to keep the clock if I couldn’t get it to work anymore. If you buy a clock for under $3.00 you don’t want to buy parts that will cost more than it is worth. I’ve turned those wall clocks into frames for photographs and art. You start by pulling the clock apart. The you can cut out a piece of scrapbook paper in the shape of the clocks face. You can then print out a photo from your computer or take a regular photo and center it on the scrapbook paper. Once the photo is in place you can cut a piece of matting or use a piece of cardstock to create matting for the photo. In most cases the photo won’t touch the glass or plastic facing of the clock so you can decorate around the photo as you please. You can do collages or get really creative and frame a flower or a memento that you love.
Once everything is in place, put everything back together and hang up your new creation.
Thanks for stopping by; keep an open mind and do come back again. Become a follower and know when I make a post.
I wonder how many people throw away their wall clocks when they are no longer working? I came up with an idea to keep the clock if I couldn’t get it to work anymore. If you buy a clock for under $3.00 you don’t want to buy parts that will cost more than it is worth. I’ve turned those wall clocks into frames for photographs and art. You start by pulling the clock apart. The you can cut out a piece of scrapbook paper in the shape of the clocks face. You can then print out a photo from your computer or take a regular photo and center it on the scrapbook paper. Once the photo is in place you can cut a piece of matting or use a piece of cardstock to create matting for the photo. In most cases the photo won’t touch the glass or plastic facing of the clock so you can decorate around the photo as you please. You can do collages or get really creative and frame a flower or a memento that you love.
Once everything is in place, put everything back together and hang up your new creation.
Thanks for stopping by; keep an open mind and do come back again. Become a follower and know when I make a post.
Labels:
Art,
Artography,
create,
creative,
creativity,
digital art
Subscribe to:
Posts (Atom)