Total Pageviews

Popular Posts

Translate

Showing posts with label things to do. Show all posts

Saturday, December 24, 2022

Ornaments from CDs


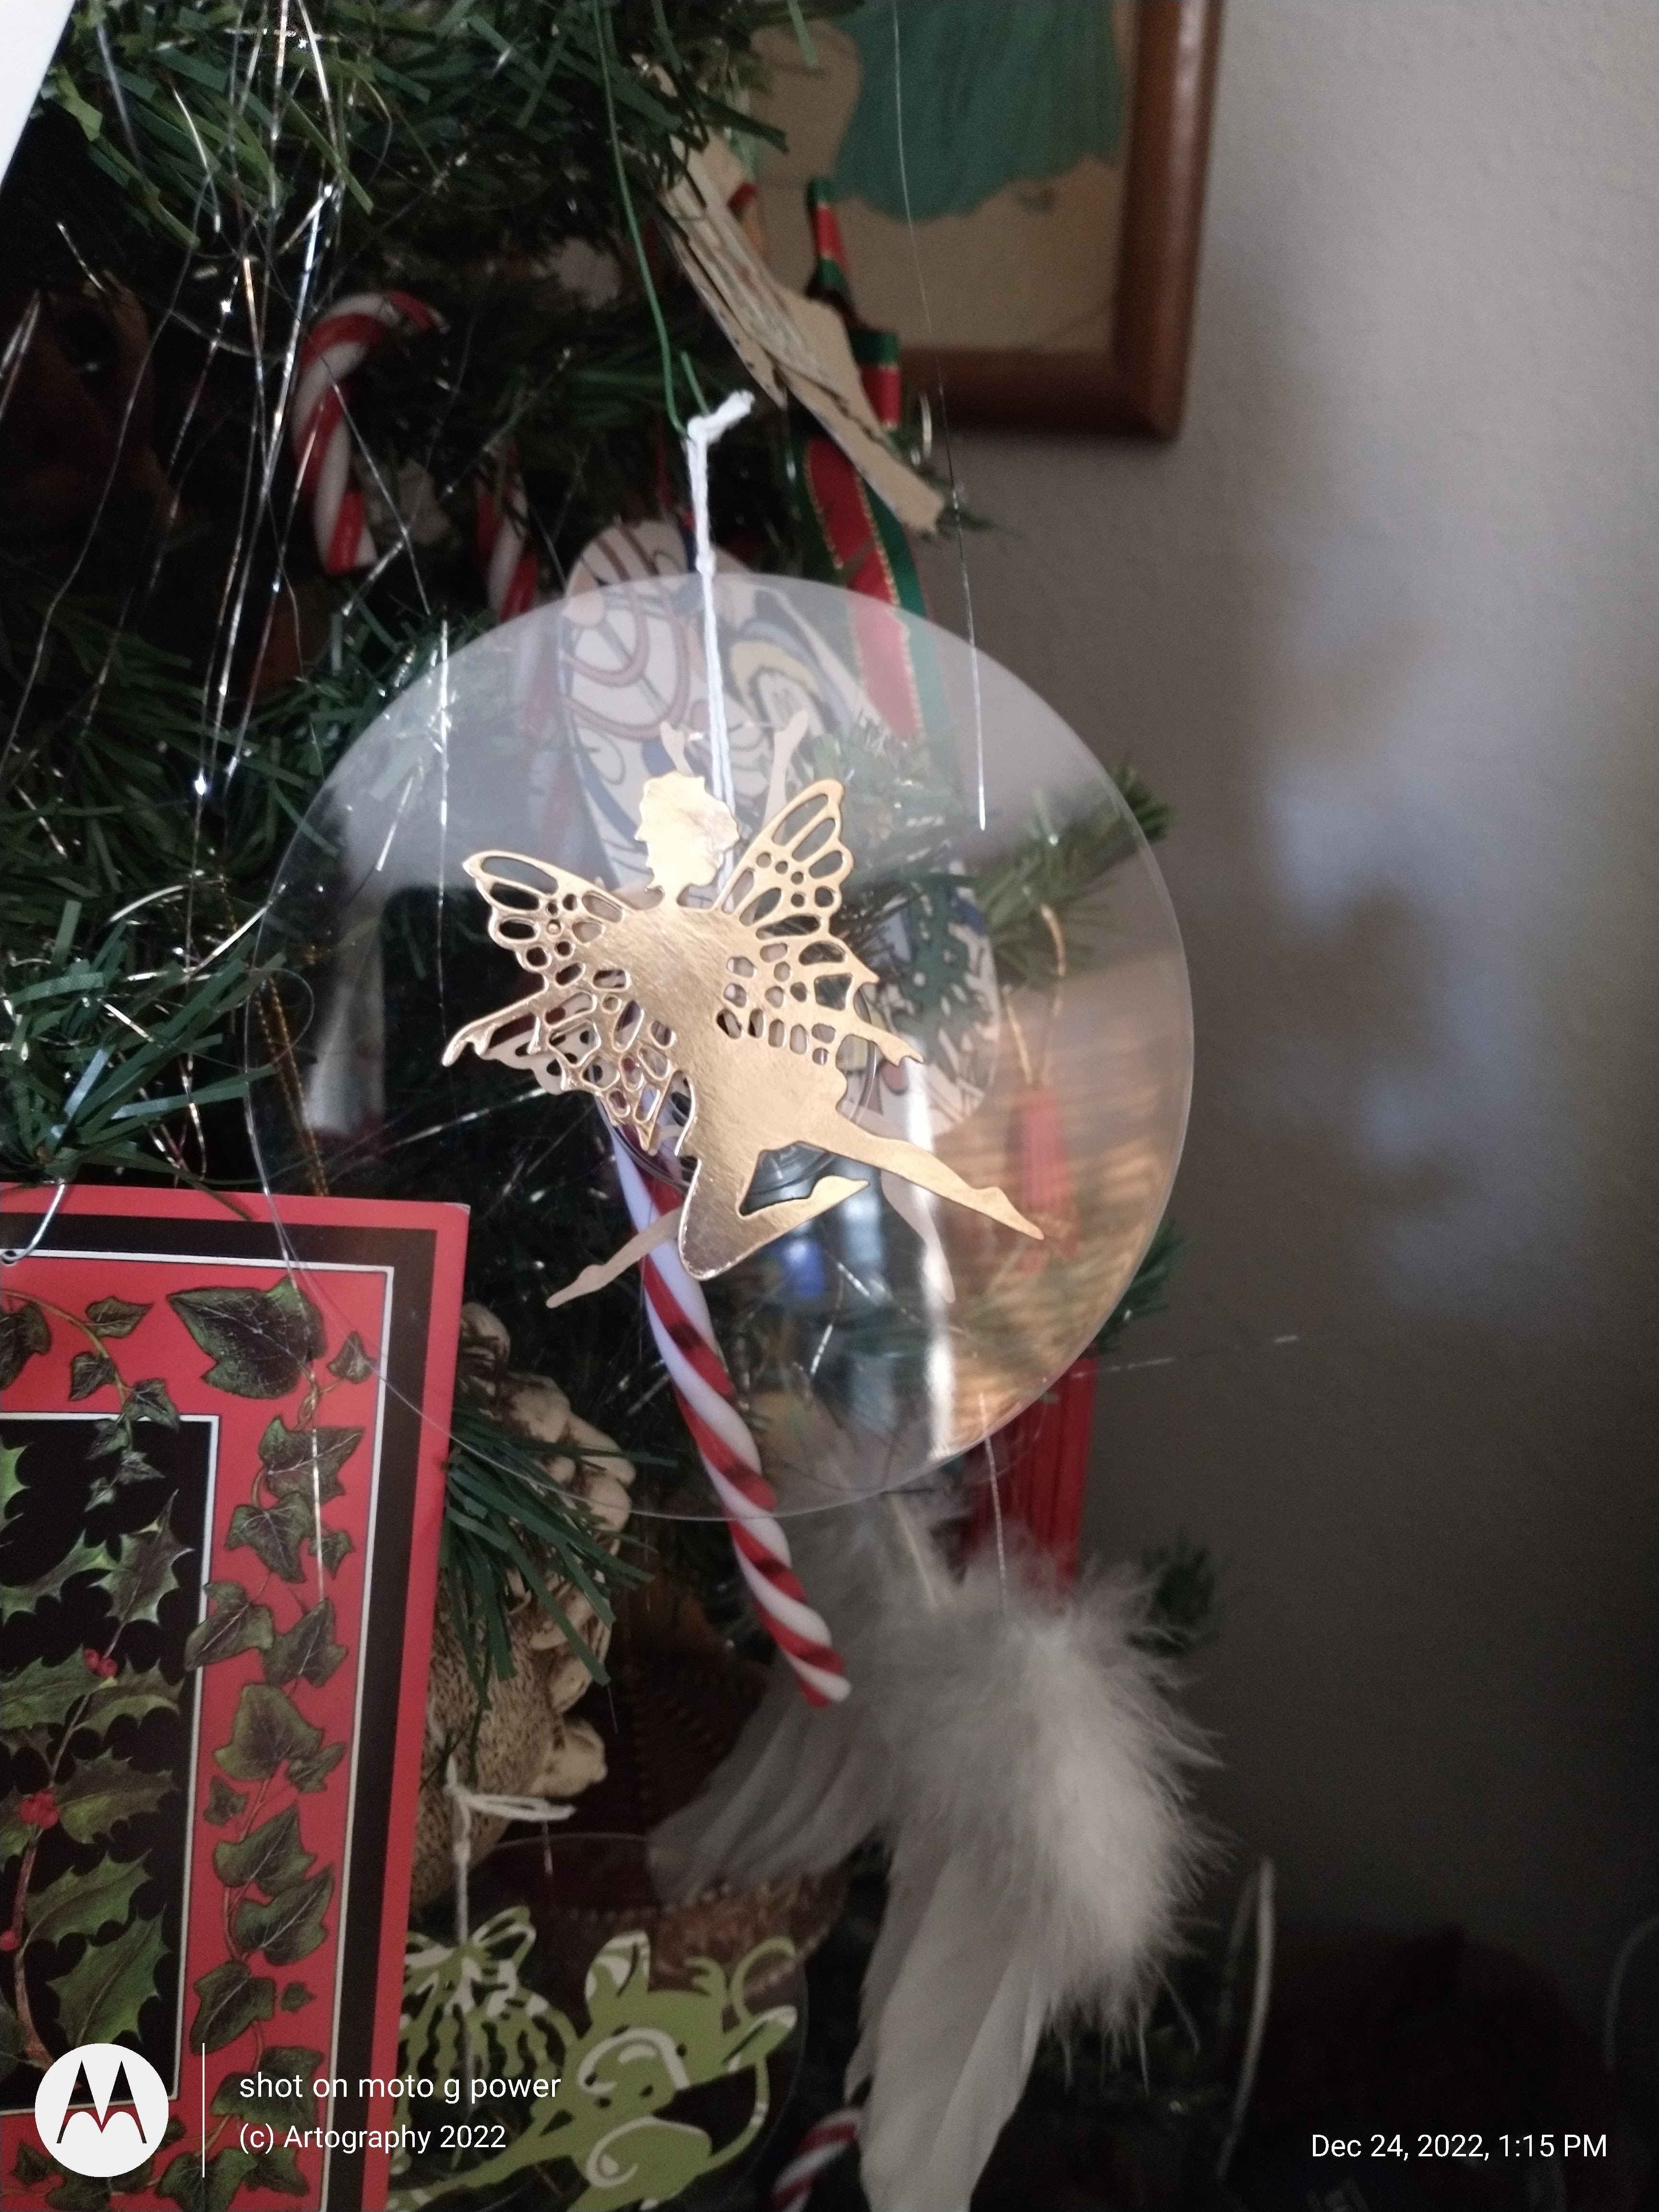
 Most of us have holidays traditions. We start to decorate just as soon as one holiday is over for the next one. Some people begin decorating for Christmas after Thanksgiving dinner or the next day. Some choose a certain day for the family to get together and decorate. Whenever you decorate here is a tip for creating ornaments. Since most of us have gone digital with out music, there may be some CDs lying around and instead of throwing them out, you can turn them into ornaments. If you have a stack of CDs, they usually have a clear disc at the top and one at the bottom. You have several options if you have the clear CD. You can punch a hole at the top or you can run a piece of thread through the hole so that you can hang it on the tree. If you do this, you will want to cover the CD with scrapbook paper, gift wrap, ribbons or whatever your heart desires. That way you are not searching for the hole. I did a few that way and I did a couple where I tied a piece of ribbon from the center. I then covered it with scrapbook paper and then I embellished the CD. You can embeliish one or both sides. There are no limits to what you can create. Most of the ornaments are flat and made out of paper. This makes it easier to store. I have purchased some ornaments that I really like and because they are not a Christmas theme, I leave the out all year long. They are great conversation starters and I don't have to worry about a special box for them to be stored in.


You can check out the video on my youtube channel. www.ArtographybyDlonzo.com


Thanks for stopping by; do come back again and keep an open mind.

Sunday, July 5, 2020

Magazine Files from Cereal Boxes

It's been quite some time since I've made a post it seems.

 How to make magazine files using cereal boxes. You can find all sorts of things to do on Youtube. I look for stuff and I may modify it to suit my needs or make the process easier.

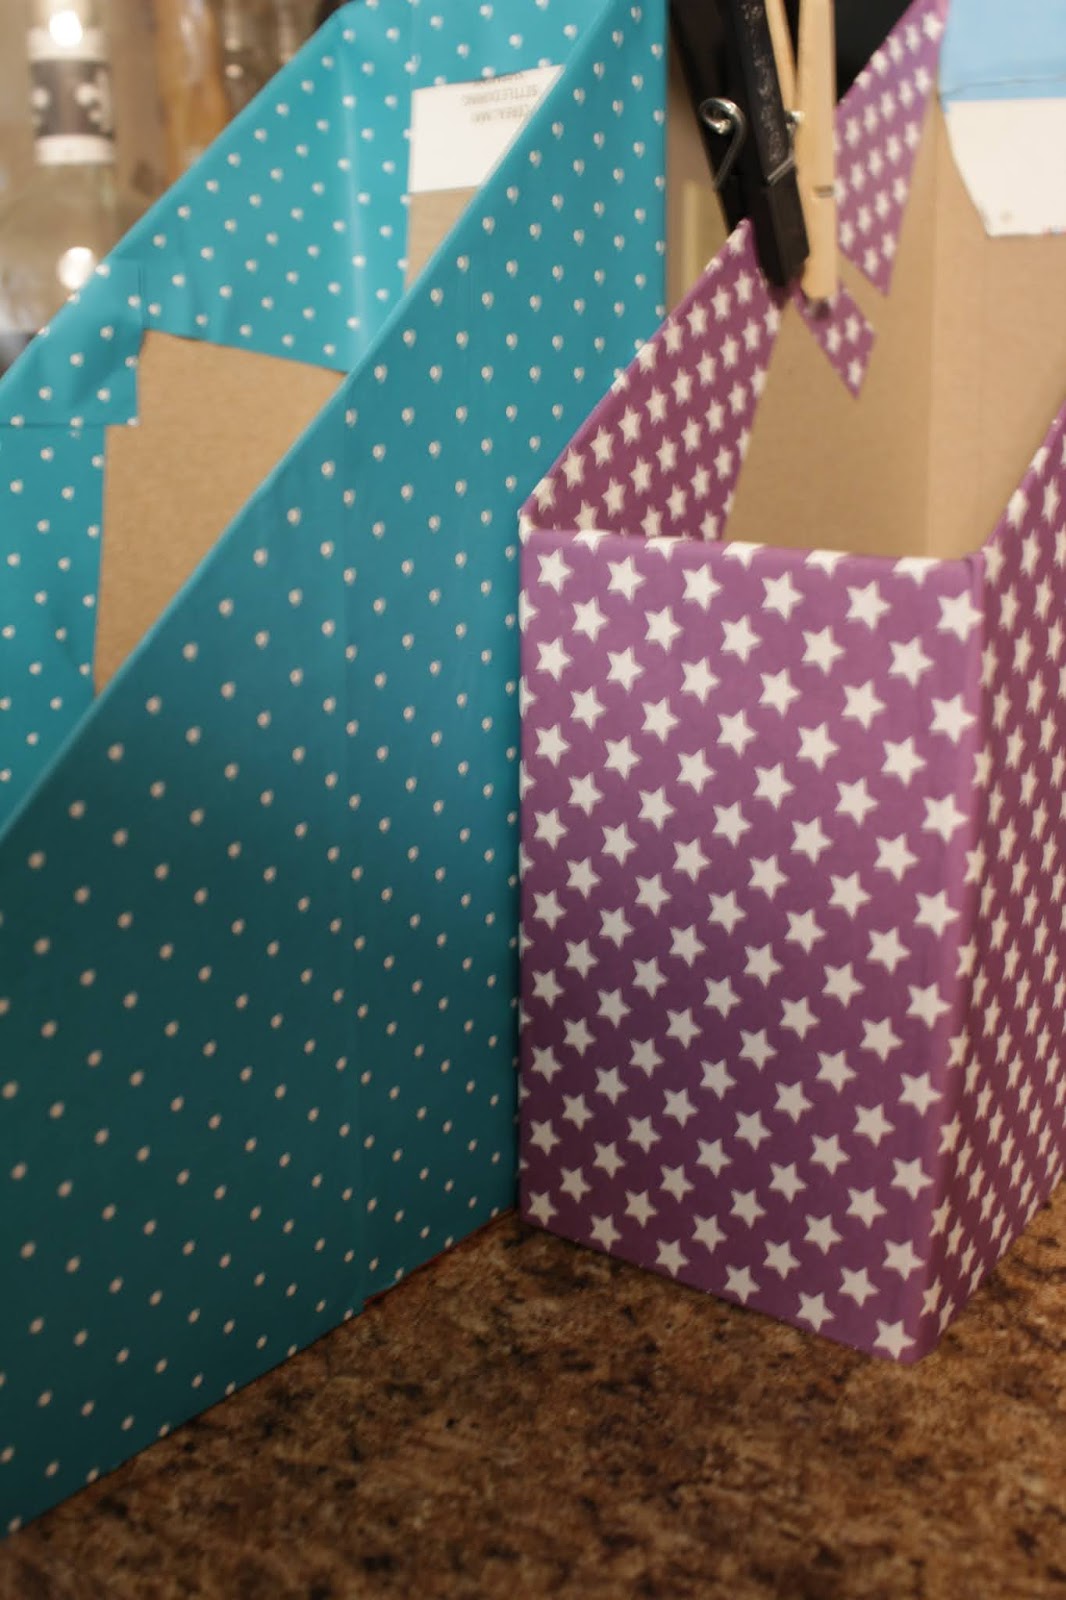
I've chosen to take the cereal box and measure how low to cut the front depending on the size of the magazine and how much you would like to expose. If it's a large cereal box, you can measure the height of the magazine and cut to size. Once I decide which magazine will go into the file, I measure the sides. I draw lines from the top down to where I would like the height of the front to be for viewing the magazine spine.

 Using a box cutter or Xacto knife, I cut from the top down on each side of what will be the front. 3" to 6" depending on the size of thecereal box is a good height for the magazines. Fold back inside of the file to create added support to make the file sturdy. You can fold the sides inward at an angle or cut them with the box cutter or Xacto knife from back to front. If the back is too high, use the same technique as you did for the front. Cut on each side until you have reached the desired height and fold inward for added support.

Take two sheets of 12 x 12 scrapbook paper of your choosing. Keeping the same design makes for a more professional store bought look. Wrap the sheets around the box to measure. If the box is large you will want to make sure you cut the paper in large strips so you will have the access to fill in the gaps. I prefer to glue the box as well as the paper. Don't put to much because you don't want it to be wet and cause the paper to buckle. I prefer Elmer's Glue-All Multi Purpose Glue. Smooth out the paper so you have an exact fit. Now if you are using the large cereal box, you can use the scrap piece of paper first or you can lay it over after you have put the other two sheets in place. Depending on the ceral box and the color of paper you are using, you may choose to just leave it. It's your file, you can do whatever you feel like doing. I prefer to glue one section at a time. This way you can see if you need to make modifications.
Use clothes pins or clamps to keep paper in position. Smooth paper from bottom to top or from front to back or vice versa depending on which part you are working on. By doing a section at a time you can place the file on its side and put a heavy weight inside to make sure the glue is bonding. You can finish the project in a few hours or if you have a craft room you can take longer making sure it is absolutely perfect.

If you try this project let me know how it comes out.